Chaos God
 | |
| Type | ??? |
|---|---|
| Location | The Temple |
| Health | 17776 |
| Scrap | 0 |
| Music | 'Chaos Incarnate' |
| Bestiary Entry | (Chaos God is shown floating in the arena you fight him in, with no text or type description.) |
| "You're describing an awful tight situation there, buddy. If I had to go with the statistics, I'd say you're scrap for sure. But somehow, I feel you have it in you to face anyone. God or not." |
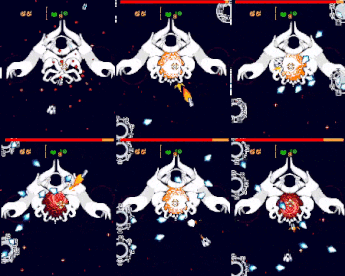
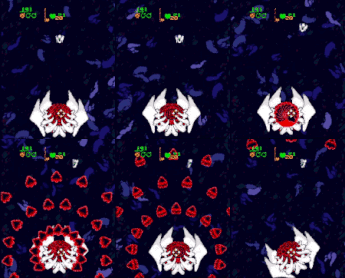
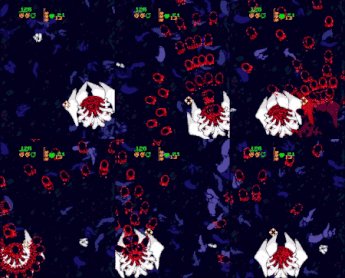
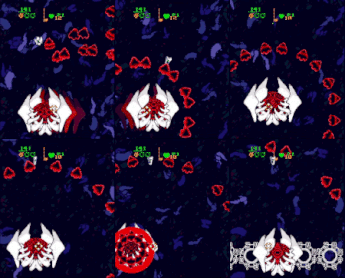
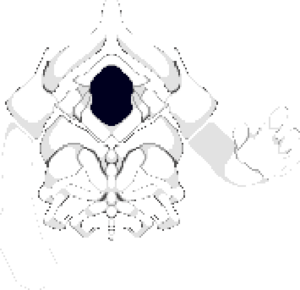
Chaos God is the second boss that can be found in the Temple, and is a massive, greyscale humanoid with what appears to be a visible ribcage, horns, and a black void where a face would go. Chaos God can be summoned by defeating Warden at tier 4, and is fought directly after Warden's death, and is summoned as part the same cutscene that ends Warden's fight. Chaos God's fight is one of the only fights in the game that open up the space in the HUD for more space to fight. Chaos God is fought in an area that resembles space, with a disc of some sort of matter spinning at the bottom of the arena with stars flying across the background above. Chaos God does not deal contact damage at any point in the fight.
Attack Patterns
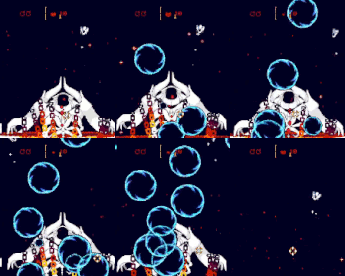
Many of Chaos God's attacks are shared between phases, and instead of new attacks replacing them, they increase in difficulty as the fight progresses. There are also portions of the fight where Chaos God retreats to the background, and uses special attacks while they are invulnerable for the duration of the attack. No attacks can occur twice in a row. In hard mode, most attacks automatically behave as if their difficulty were the same as in the 3rd phase of the fight in normal.
Phases 1, 2, 3
| Description | Video |
|---|---|
| If the player is using a runic weapon, Chaos God will raise their hands and strip the weapon from the player, leaving them with their peashooter. The only runic that is immune to this is Hand of the First. It may be possible that if you do enough damage fast enough to Chaos God, you may be able to skip this and leave the fight with the runic you came in with. | 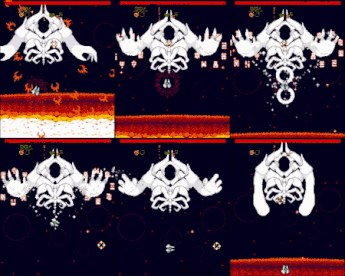
|
| Chaos God raises their hand and creates pulses of bullets in the form of nested circles, and gradually speeds up the pulses until the attack ends. Another circle per pulse is added in phase 2, and they deal double damage in phase 3. This is one of the two attacks that will always happen first in the fight. | 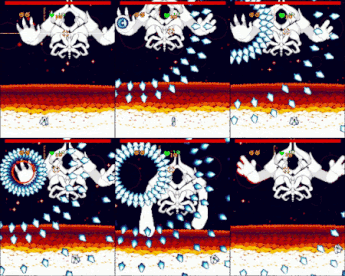
|
| Chaos God raises their hand and creates pulses of bullets in a star formation with extra legs of bullets that fire faster, both of which rotate gently counter-clockwise with each other. In phase 3, these bullets deal double damage. This is one of the two attacks that will always happen first in the fight. | 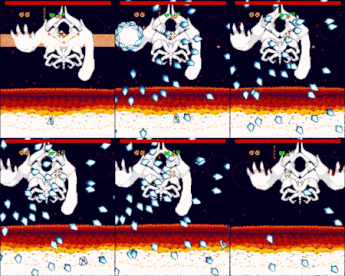
|
| Chaos God looks upward, and generates large bursts of large bullets that are thrown upward and then fall down toward the player, and these bursts are aimed gently toward the side of the arena that the player is on. In phase 2, the pattern becomes denser, and in phase 3, they deal double damage. | 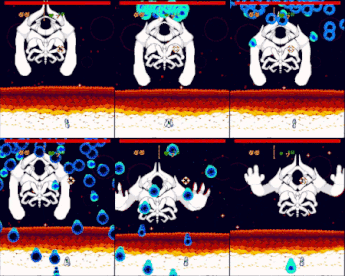
|
| A crack sounds and a shockwave moves the player upward, and giant double damage bullets in two wave formations snake up from the bottom of the arena. The higher phase this attack is fought in adds more bullets to each series of bullets that travel upward. There are particles in each pattern that follow forward and back the snaking pattern the bullets follow, which allows the player to better predict where the bullets will come from next. | 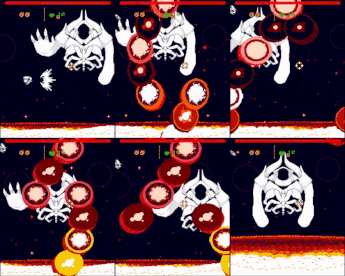
|
| Chaos God raises their hands and telegraphs large cuts across the arena that occur shortly after each telegraph, and are either parallel lines or are in an X formation. In later phases, some cuts are double damage. Some cuts cover more of the arena by being wider, at the end of a chain of cuts. | 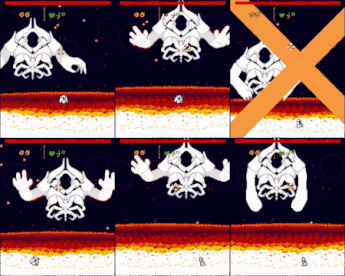
|
| Chaos God raises their hands and generates many massive double damage bullets that individually travel toward the player one after another, and they generate faster the further into the attack you get. The later the phase you fight this in, the lower in the arena they get conjured at, and the faster they are conjured. | 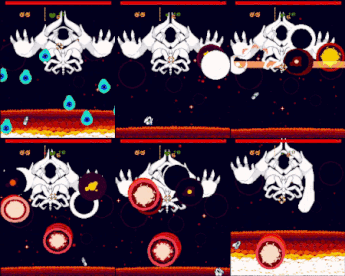
|
| Chaos God generates one massive double damage bullet that follows and orbits the player, and generates bullets whenever it hits the edge of the arena, bouncing off at the same speed it landed at. After a fixed number of bounces, the bullet glows white and then is thrown toward the player, and explodes into many legs of bullets with varying speeds, along with a random spread that approximately follows the speed of the bullets around them. In phase 3, the bullets generated by the bounces and after the bullet is destroyed deal double damage. This large bullet can be bombed to skip this attack entirely. With careful movement, the large bullet can be manipulated to orbit the player in such a way that it does not hit walls for an extended period of time. | 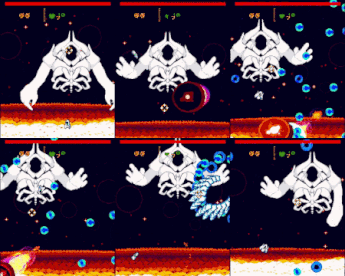
|
| Chaos God will sometimes fire a massive conic laser aimed downward from the void in their head that deals double damage. This attack often happens immediately after other attacks. | 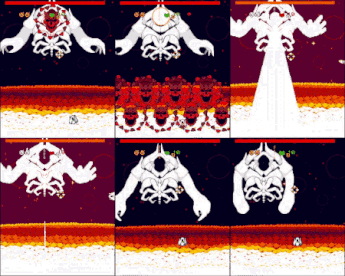
|
Phase Transitions
Prisoner
 | |
| Type | ??? |
|---|---|
| Location | The Temple |
| Health | 8165 (Phases 1-3 - 6665, Final Attack - 1500) |
| Scrap | 0 |
| Music | 'Screams of Chaos' |
| Bestiary Entry | (Prisoner is not found in the Bestiary, as Prisoner is considered to be a portion of Chaos God in game.) |
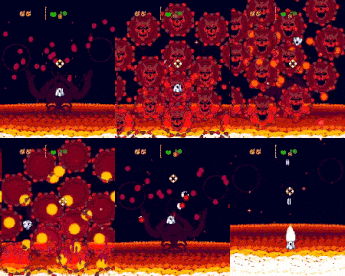
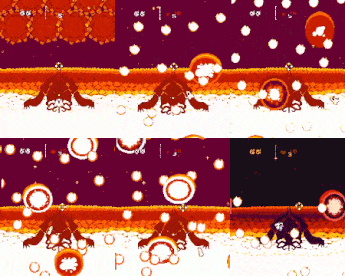
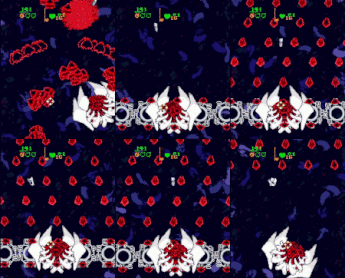
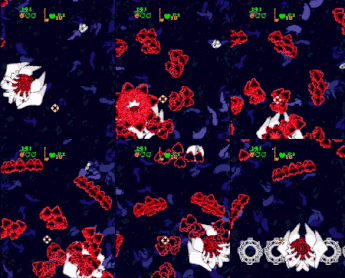
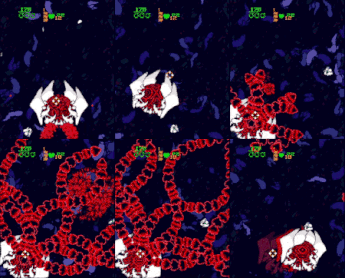
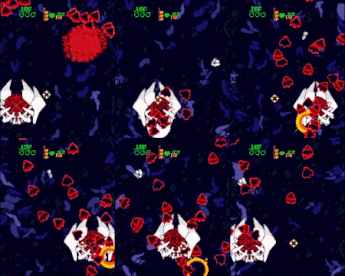
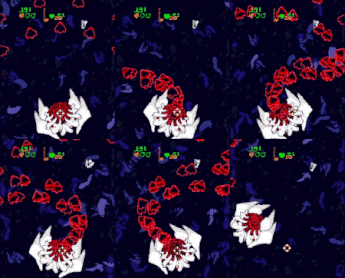
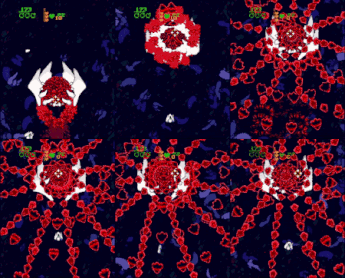
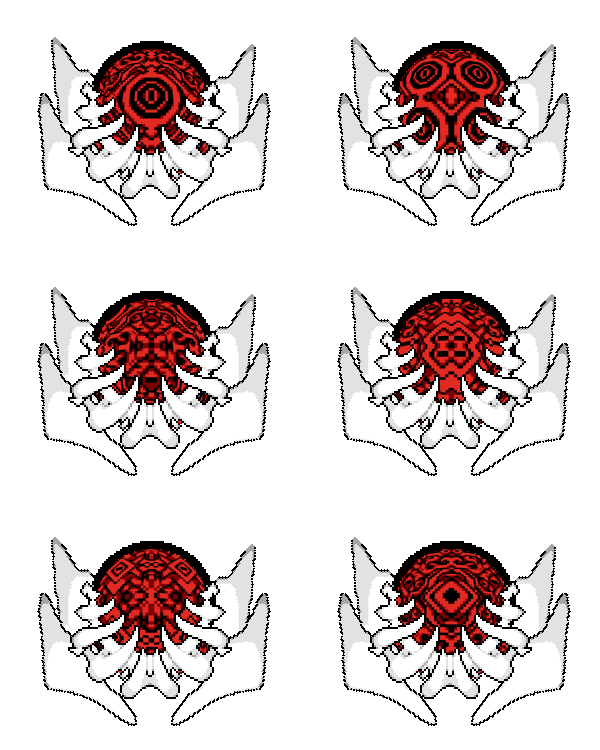
Prisoner is the third and final boss that can be fought in the Temple, and is fought directly after Chaos God by entering the black holes that Chaos God fires after its core reaches 0 health. Prisoner appears to be a red and black spherical eye, covered in pieces of Chaos God and encased in a white rib-cage that, throughout its battle, diminishes in size. Prisoner does not have a health bar at the top of the arena, and does not have a title card. The arena remains open, with a minimal HUD as in the fight with Chaos God, and takes place in a black void with large fields of dark, stone-like debris. Prisoner does not deal contact damage at any point in the fight. In Hard Mode, Prisoner's attacks are more dense in bullets, with some attacks having additional patterns.
Attack Patterns
All attacks from Prisoner inflict double damage. Phase transitions are signified by a crack sounding and the arena being cleared of bullets. Similar to Chaos God, many attacks are shared between its three phases, but while some strengthen later in the fight, some weaken instead. Prisoner tends to stay toward the bottom of the arena, but is quite agile and will move around often.
Phases 1, 2, 3
Phase 4
There is one attack that occurs for the entirety of phase 4.
Cutscenes
Chaos God is summoned directly after Warden's death in a tier 4 fight with him, and in the same cutscene that results in Warden's death. After rays of light are shown shooting upward from the stonework in the background of Warden's battle, the player ship travels upward and past many chains that break with the player passing them. After traveling up far enough, a disc of matter is shown in an open space with stars, and Chaos God rises from this disc in the background, then teleporting to the foreground and beginning the fight.
If you dodge all the black holes in the final attack of the fight when Chaos God is chained at the bottom of the arena, Chaos God is dragged below the arena as well as the background of the arena. The HUD returns to normal, and you are given a choice between the TempleGame Cartridge and one of the two weapons that Chaos God can provide as loot (Edge of Reality, and Grasp of Entropy). In hard mode, you get to keep both the weapon and the cartridge, but the weapon is still randomly chosen. You are then free to exit the Temple and enter into Sanctum.
If you enter one of Chaos God's black holes after their fight, you are locked into the fight with Prisoner and their fight will be the final fight of your run. When entering a black hole, the arena is filled with black and an audio cue plays, before a wave from the bottom of the arena wipes across the arena and you enter the fight with Prisoner, in a black void filled with debris, Prisoner rising from the bottom of the arena, summoning armor in the form of pieces of Chaos God and crying out loudly, then beginning the fight. After Prisoner reaches 0 health, they begin bursting rays of red light outward which eventually fill the entire arena, then exploding into a blinding light before the arena slowly dims into total darkness, the final thing dimming being the player ship. The credits then roll with a unique, quiet track playing. This ending is considered the "bad" ending of the game.
Notes
- Chaosgod's health for every phase has 4444 HP leading to a total of 17776 HP.
- The HP values for Prisoner are broken up into two parts. When the player depletes 6665HP from Prisoner, its HP resets to a value of 1500 for its final attack and is defeated upon the player depleting that amount.
- The bestiary entry for Chaos God is the only entry that displays a background animation alongside the enemy sprite. Chaos God doesn't appear to have a type classification as a result of this, and doesn't have any text to accompany it.
- Some ships have special exceptions for the weapon provided when beating Chaos God. Overlord always gets Edge of Reality, Skully always gets Grasp of Entropy, and Chaos gets Hand of the First instead of the standard two weapons.
- Chaos God uses a unique set of white runes instead of red runes, or Warden's runes.
- When the map is opened during the fight, nothing extra is displayed where the HUD would otherwise be, and where the rooms would be, what rooms would be displayed are replaced with the text "-IMPOSSIBLE-" flashing in the center of the map.
- It is possible to kill Chaos God during their first core phase by dealing enough damage past the threshold to transition to the next portion of the fight, meaning you have to deal over 2/3 of the core's health in one frame. While difficult, this skips all subsequent portions of the fight, including the transition phases which cannot otherwise be sped up, and immediately triggers Chaos God's black hole attack as if you reached the end of the fight normally.
- This can be triggered multiple ways. With a damage stat of at least 360%, using Golden Gun on Chaos God's core will kill it in one shot from full health. This can also be performed by having a high damage stat and a sufficiently powerful weapon and keyword combo. Note that all projectiles must hit the core on the same frame, as the full damage will not be dealt and the fight will continue as normal, or with the second core phase skipped if you damage beyond the second threshold. You must therefore place yourself on top of the core to perform this method consistently.
- An example of Chaos God's early death by Golden Gun: https://www.youtube.com/watch?v=21a57RqUbtk
- An example of Chaos God's early death by a weapon: https://www.youtube.com/watch?v=hLMWG0i6jAg
- This can be triggered multiple ways. With a damage stat of at least 360%, using Golden Gun on Chaos God's core will kill it in one shot from full health. This can also be performed by having a high damage stat and a sufficiently powerful weapon and keyword combo. Note that all projectiles must hit the core on the same frame, as the full damage will not be dealt and the fight will continue as normal, or with the second core phase skipped if you damage beyond the second threshold. You must therefore place yourself on top of the core to perform this method consistently.
- While Prisoner remains unnamed in the game, they are named Prisoner here and in discussion due to how their sprites are named in the files.
- Chaos God was sealed in the game device you use to enter Temple by Warden.
- Chaos God's core is Prisoner, a boss that can be fought after Chaos God's death.
| Star of Providence | ||||
|---|---|---|---|---|

